
Every week I get people asking me how I do my faux tilt-shift photos. So for those of you who’s google are broke, I’ve went ahead and did a step-by-step.
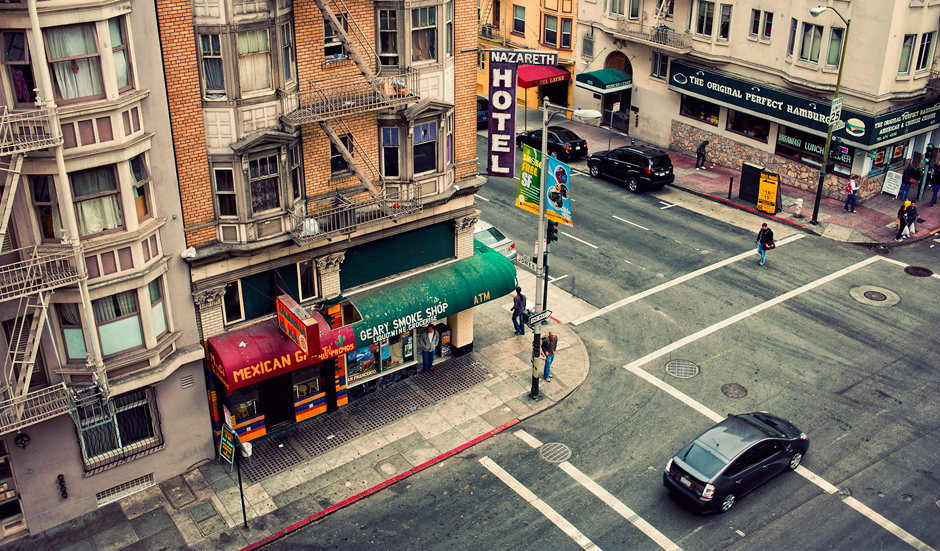
First start off with the right shot. In this case I wanted to simulate a miniature, so I choose a high isometric view.
In photoshop:
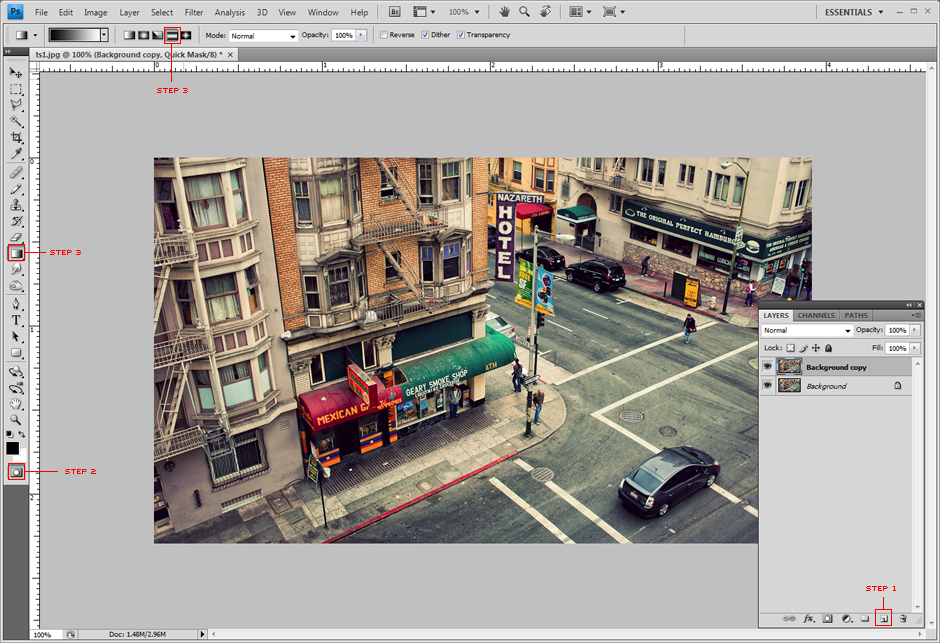
Step 1: Duplicate Layer (just in case)
Step 2: Enter quick mask mode
Step 3: Select the gradient tool from the right toolbar. Then select the “Reflective Gradient” option from the above toolbar
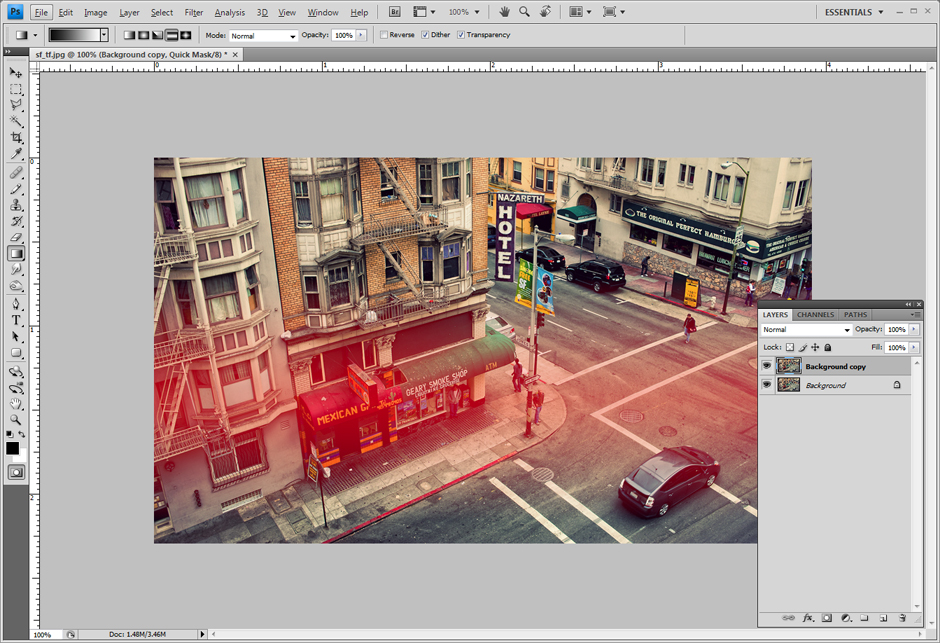
Step 4: Shift Click and hold on what you want to be your center (focused) area and drag your mouse up a a bit and let go. You will see what appears to be a red gradient over your images. This will be your focused area. You might want to play around with depending how big of an area you want in focus. Your image should look like this:
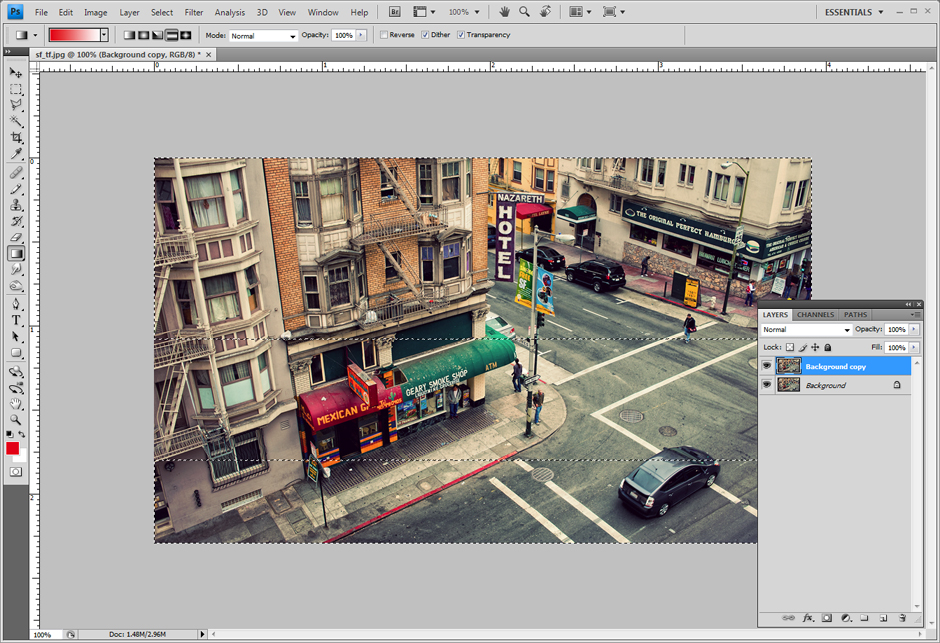
Step 5: Exit quick mask mode. You image should now have selection boxes:
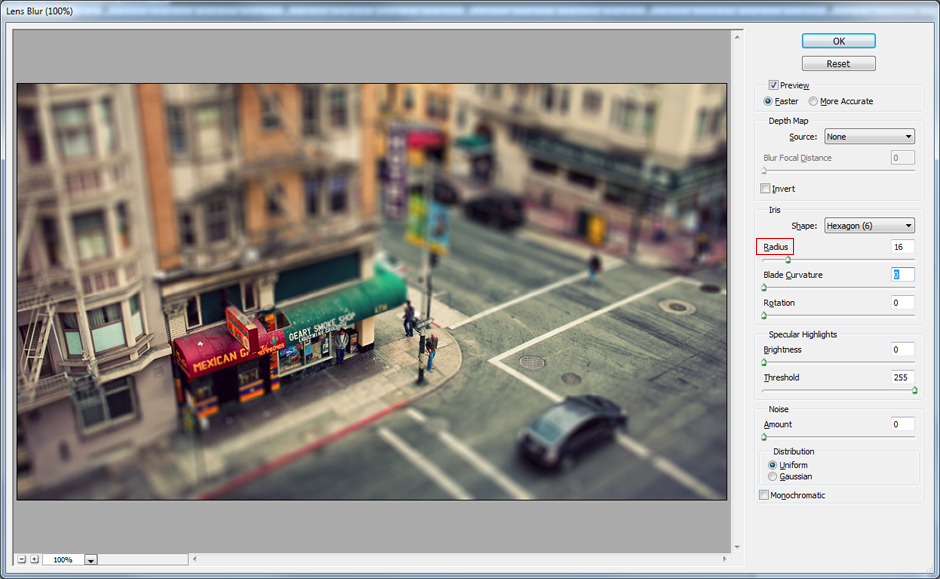
Step 6: From the top menu select Filter>Blur>Lens Blur. From my experience it is the only blur that will do this effect convincingly. You should now be in the Lens Blur window. The only real option I ever mess around with is the “Radius“. This seems to determine how much of a blur effect you want. This is another option you will just want to play around with till you get the effect you are after. Once done, you can select ok.
And there you have it….easy peasy.


