


Admit it…we’ve all been guilty of over sharpening. I’ve notice that not only do people tend to over sharpen, but they tend to sharpen the whole image. In this guide I will show you how to use layer masks to sharpen only selected areas. This technique of using masks can not only be applied to just sharpening but any adjustments.
Step 1: Open file (if you are lost at this point, just give up all together)

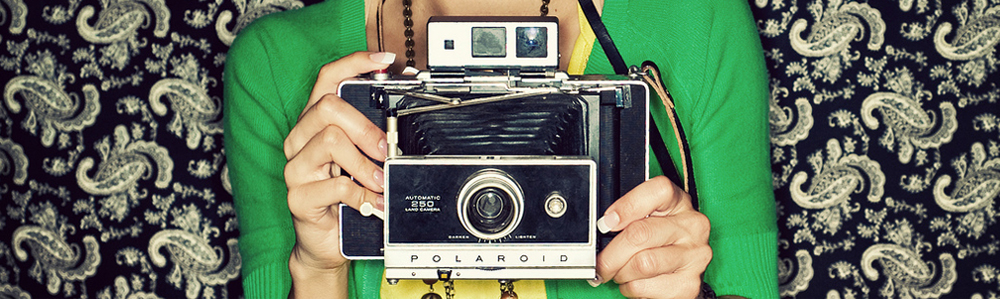
Step 2: Sharpen your image (Use any method you want). Notice how un-smooth and ugly the bokeh gets! This is not good!

Step 3: In the layers window..press the the layer mask button to add one. Notice that nothing happened to the image.

Step 4: With your cursor, select the mask. Then grab your fill bucket and fill the image black (I’m sure there is a slick key command for that, but I’m not that good). Once you fill the white area black you will notice the image reverts back to the original. Are you catching on? White = Sharpened layer….Black = Original Layer (underneath)

Step 5: Select your brush and the color white. Make sure the layer mask is selected. Now paint the areas you want sharpened. At this point the camera will be sharpened and the background should stay in it’s original state.

Step 4: Not so fast! That camera at this point is most likely still over sharpened. By adjusting the opacity you can fine tune the sharpness you want.

Step 5: You are done! Remember, this technique can be used for any adjustment (brightness, contrast, colors…ect).
The End